Web push notifications might seem like magic — a message pops up on a user’s screen even when they’re not on your website. But behind the scenes, there’s a powerful system that makes this possible.
In this article, we’ll break down how web push notifications work, from subscription to delivery. Whether you're a developer or a curious marketer, this guide will help you understand the moving parts of push technology — and how Pushr.me makes it seamless.
1. The Basics: Three Key Components
At the core, web push notifications involve three essential components:
- The Website (You): This is the site that asks the user for permission to send notifications.
- The Browser: Acts as the intermediary. It handles permission requests and relays the message.
- The Push Service: A backend system provided by browser vendors (like Google, Mozilla, Apple) that queues and delivers the messages.
Let’s walk through the process step-by-step.
2. Step-by-Step: How Push Notifications Work
Step 1: User Visits Your Website
When someone visits your site, they are prompted to allow or block notifications. This is known as the opt-in prompt, and it’s powered by JavaScript running on your site — usually inserted with a small script provided by your push provider (like Pushr.me).
✅ With Pushr.me, this step is as easy as copy-pasting a snippet into your website.
Step 2: User Grants Permission
If the user clicks "Allow", the browser creates a unique subscription ID for that device and browser. This ID acts as a secure channel between you and the user, without revealing any personal data.
This subscription is stored both in the user’s browser and in your Pushr.me dashboard — so you can start sending messages.
Step 3: Subscription is Registered
The subscription ID is then registered with a push service — a server managed by the browser vendor. This push service securely holds the connection between your site and the user’s browser/device.
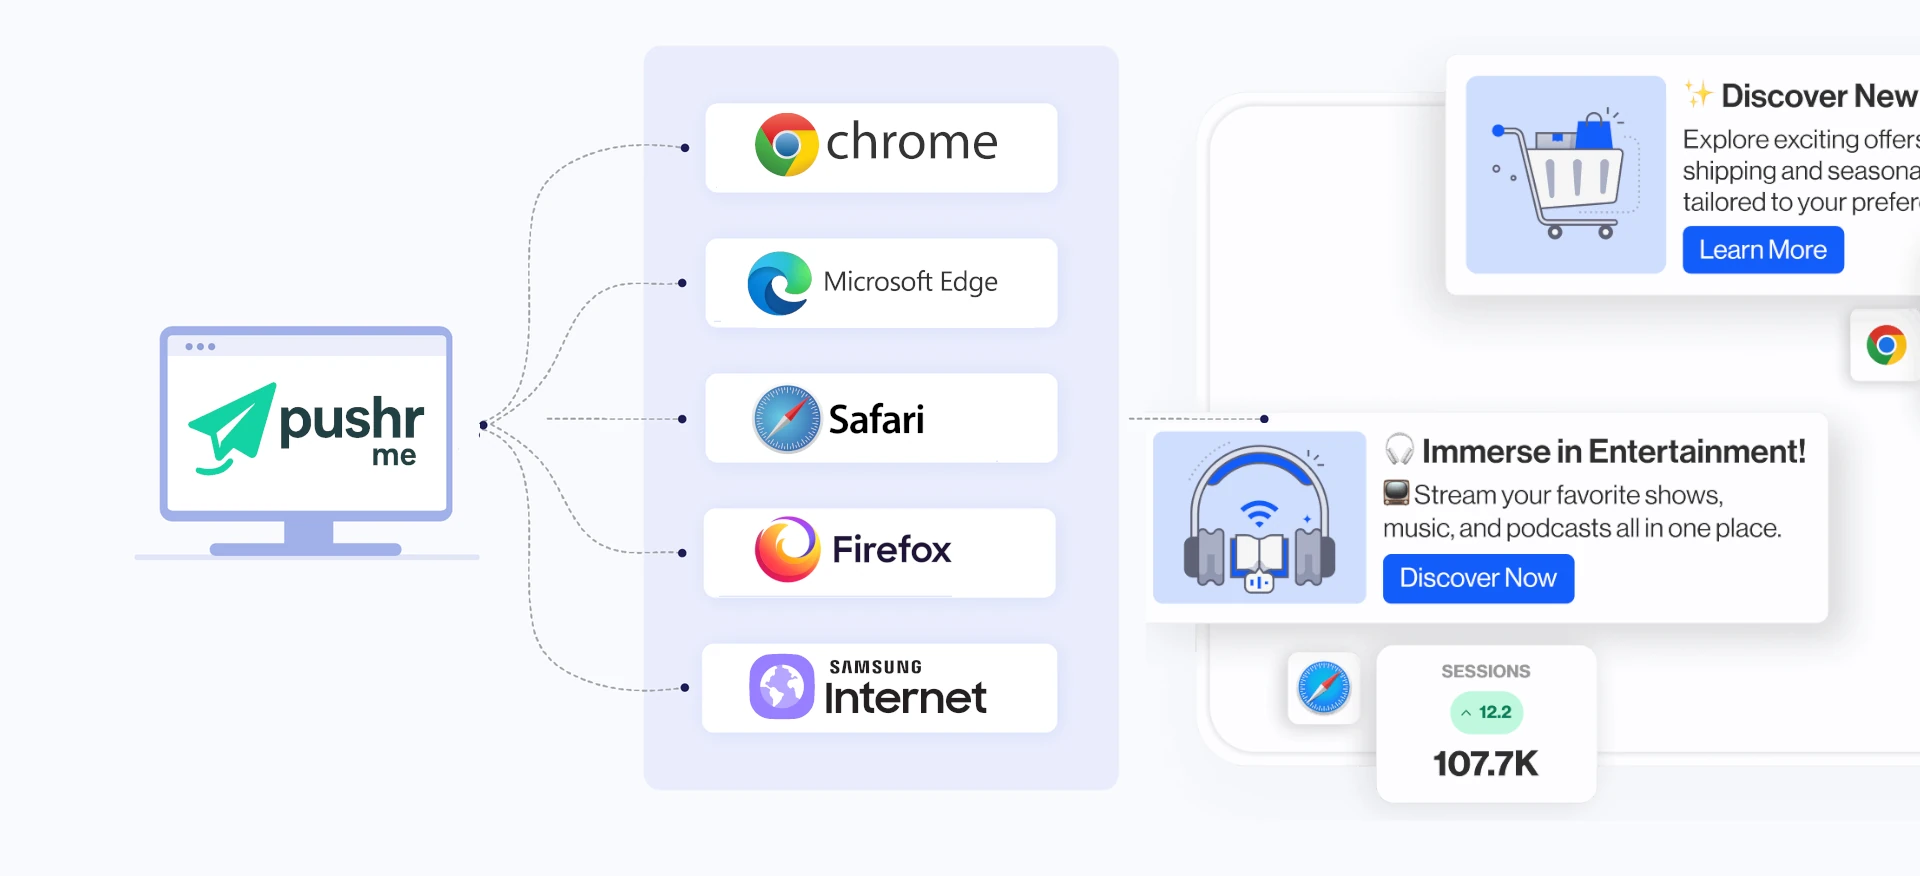
Each browser (Chrome, Firefox, Safari, Edge) uses its own push service. Pushr.me handles all this complexity for you behind the scenes.
Step 4: You Send a Push Notification
When you create a campaign or automated message in Pushr.me, we generate a payload (the content of your message: title, description, image, action buttons, etc.).
This payload is sent securely to the push service, which then forwards it to all subscribers.
Step 5: The Notification Appears
The user receives the message directly on their screen, even if they’re not on your website. This is what makes push notifications so powerful — immediate visibility without needing email inboxes, apps, or open tabs.
If the user clicks, they’re taken to your desired URL.
3. What Happens Behind the Scenes?
Here’s a quick breakdown of the technology stack:
- Service Workers: These are scripts that run in the background in the user’s browser. They handle notification display even when the browser isn’t actively being used.
- VAPID Keys: Used for secure communication between your server and the push service.
- JSON Payloads: Contain the notification content that gets displayed.
- TTL (Time To Live): Determines how long the push service should keep the message if the user is offline.
You don’t need to manage these technical details yourself — Pushr.me abstracts all of this to offer a simple UI and API.
4. Offline? No Problem.
If the user is temporarily offline, the push service stores the notification and delivers it once the device is back online — as long as it’s within the TTL you define (Pushr.me lets you set this per message).
5. Real-Time Analytics & Feedback
Once the notification is delivered and interacted with, Pushr.me updates your dashboard with:
- Delivery status
- Open rate (CTR)
- Subscriber details
- Logs of actions taken
This makes it easy to iterate and optimize your messaging strategy.
Summary: From Click to Delivery
Here’s a simplified flow:
- User visits your site
- User opts in
- Pushr.me registers the subscription
- You create a message
- Pushr.me sends it via browser push service
- Notification appears — instantly
What’s Next?
Now that you understand how web push notifications work, you're ready to move on to implementation. In the next articles in our "Getting Started" series, we’ll walk you through:
- Which browsers and devices are supported
- How to install Pushr.me in 5 minutes
- How to create your first campaign
- What subscribers are, and how to grow your list
👉 What to read next? Which Browsers and Devices Are Supported
Stay tuned — and start building smarter, real-time connections with your audience.